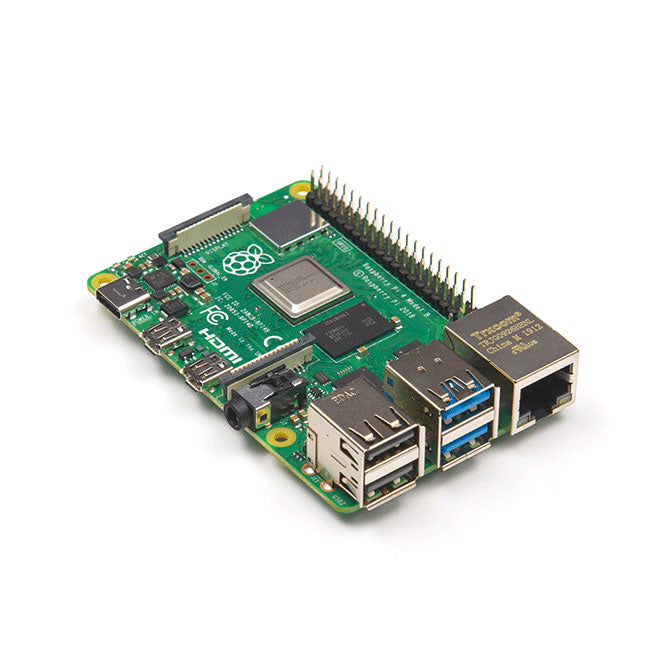


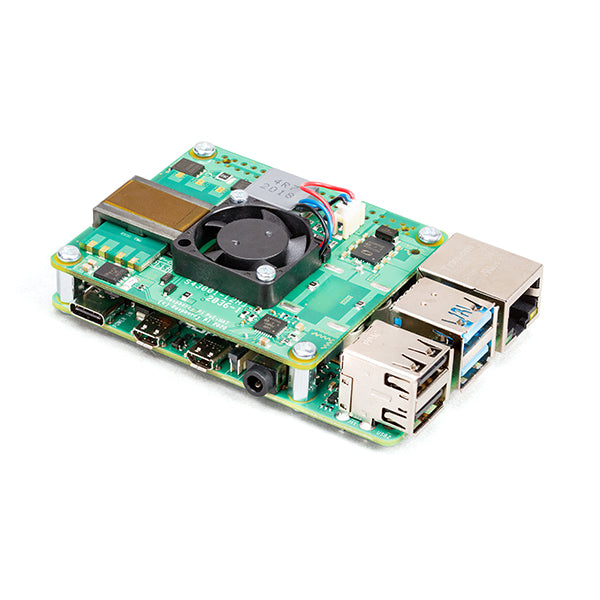


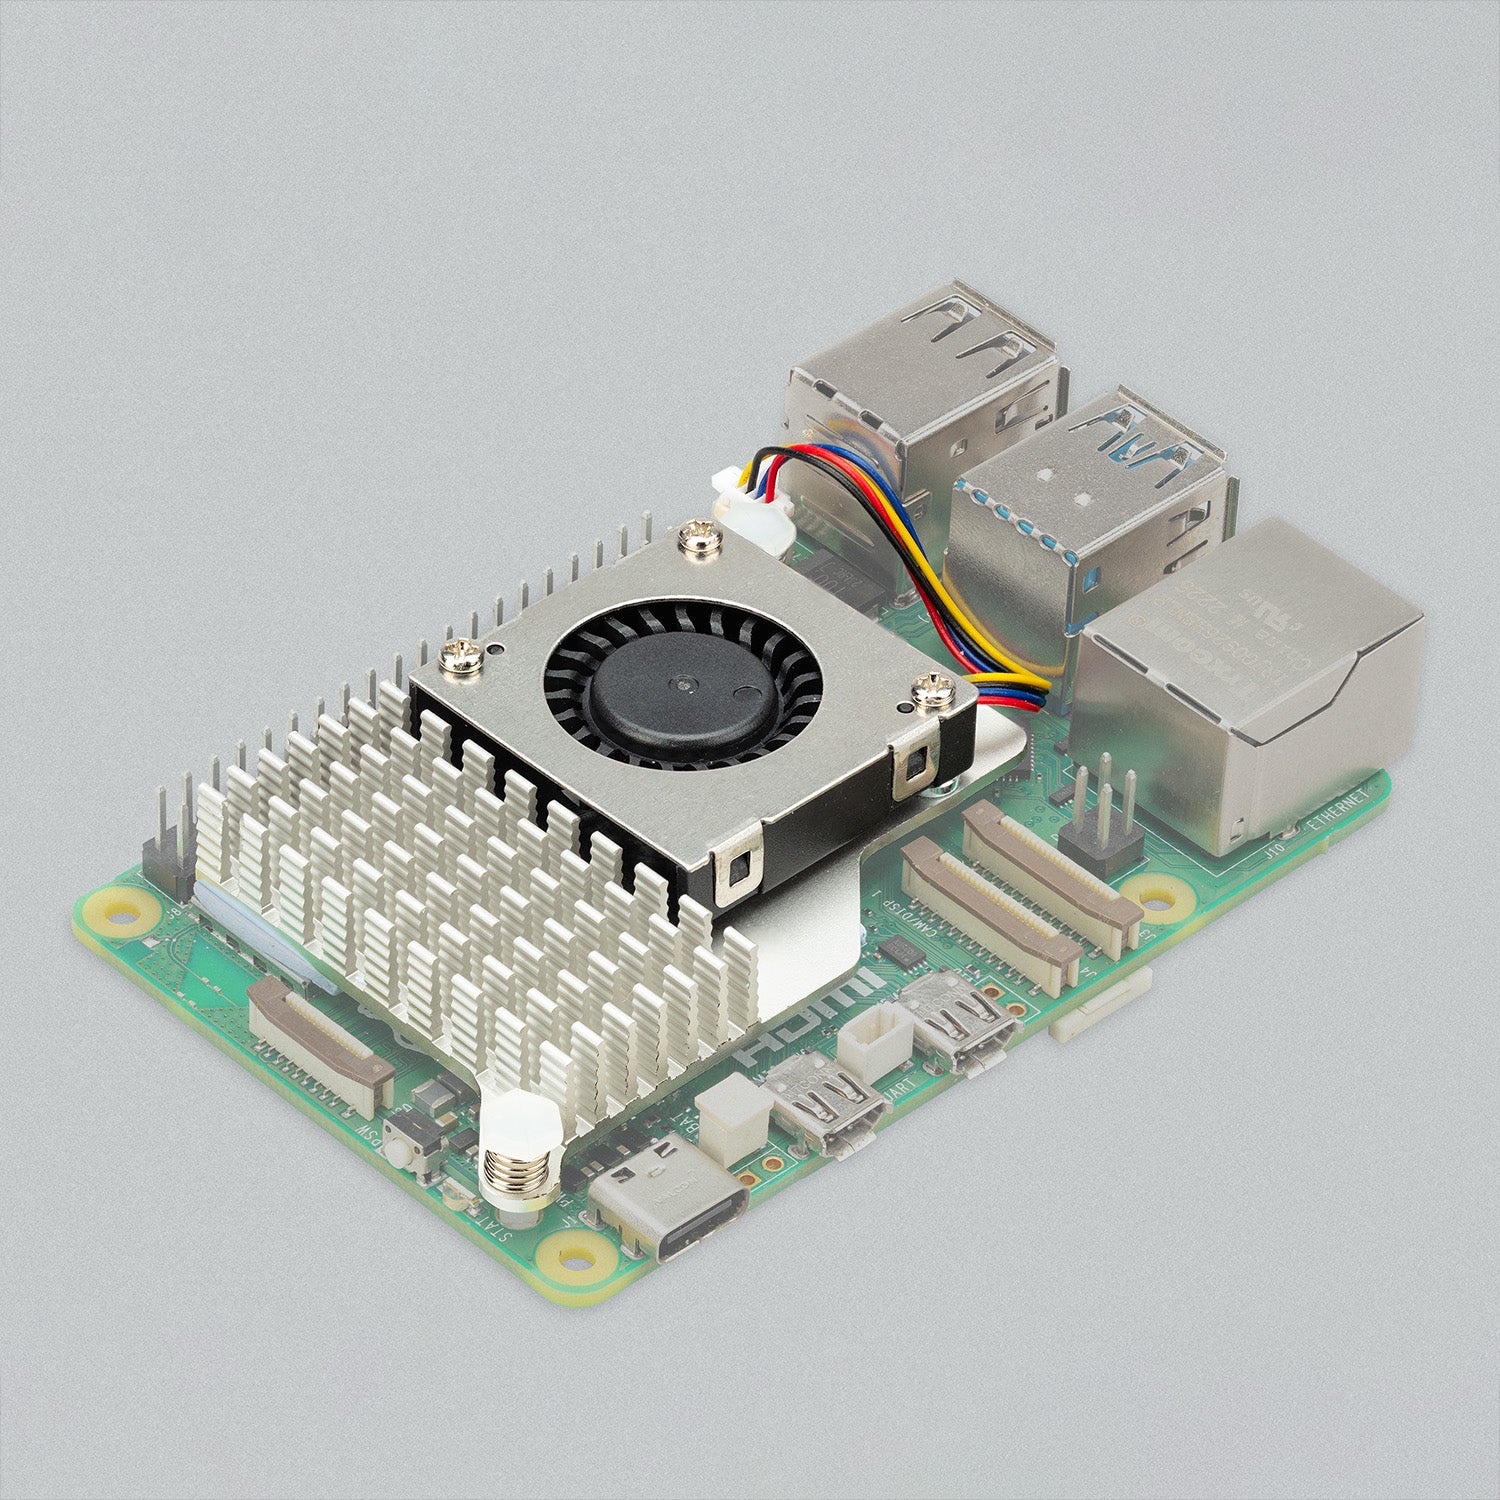


How do you enable the fan with the PoE HAT on a Raspberry Pi?
To enable and control the fan on a Raspberry Pi with a Power-over-Ethernet (PoE) HAT, you'll need to configure the settings in the Raspberry Pi's operating system. Here’s how you can do it:
-
Update your Raspberry Pi OS: Before you begin, ensure your Raspberry Pi OS is updated to the latest version. You can do this by running the following commands in the terminal:
sudo apt update sudo apt full-upgrade -
Edit the configuration file: You need to edit the
/boot/config.txtfile to set the temperature thresholds at which the fan should turn on or off. Open the terminal and type:sudo nano /boot/config.txt -
Add fan configuration settings: At the bottom of the
config.txtfile, add the following lines:# PoE HAT Fan dtoverlay=rpi-poe dtparam=poe_fan_temp0=65000,poe_fan_temp0_hyst=5000 dtparam=poe_fan_temp1=70000,poe_fan_temp1_hyst=2000 dtparam=poe_fan_temp2=80000,poe_fan_temp2_hyst=2000 dtparam=poe_fan_temp3=90000,poe_fan_temp3_hyst=5000These settings configure the fan to turn on at different temperatures (measured in millidegrees Celsius). For example,
poe_fan_temp0=65000means the fan will turn on when the CPU temperature reaches 65°C. Thehystparameter sets the hysteresis, meaning the temperature has to drop by this amount before the fan turns off again. -
Save and exit: After adding the configurations, save the file by pressing
Ctrl+X, thenYto confirm, and finallyEnterto exit. -
Reboot your Raspberry Pi: Apply the changes by rebooting your Raspberry Pi:
sudo reboot
After these steps, your Raspberry Pi should automatically control the PoE HAT fan based on the temperature thresholds you’ve set in the config.txt file. This ensures that the fan only runs when necessary, helping to manage the device's temperature efficiently.
- Choosing a selection results in a full page refresh.